Audio Tools & Guides
Sound Mic Test Review: What Can You Do With Its Audio Tools?
From checking a microphone before a meeting to investigating headphone channels and speaker rattles, here is who can use Sound Mic Test's tools and what the results actually tell you.
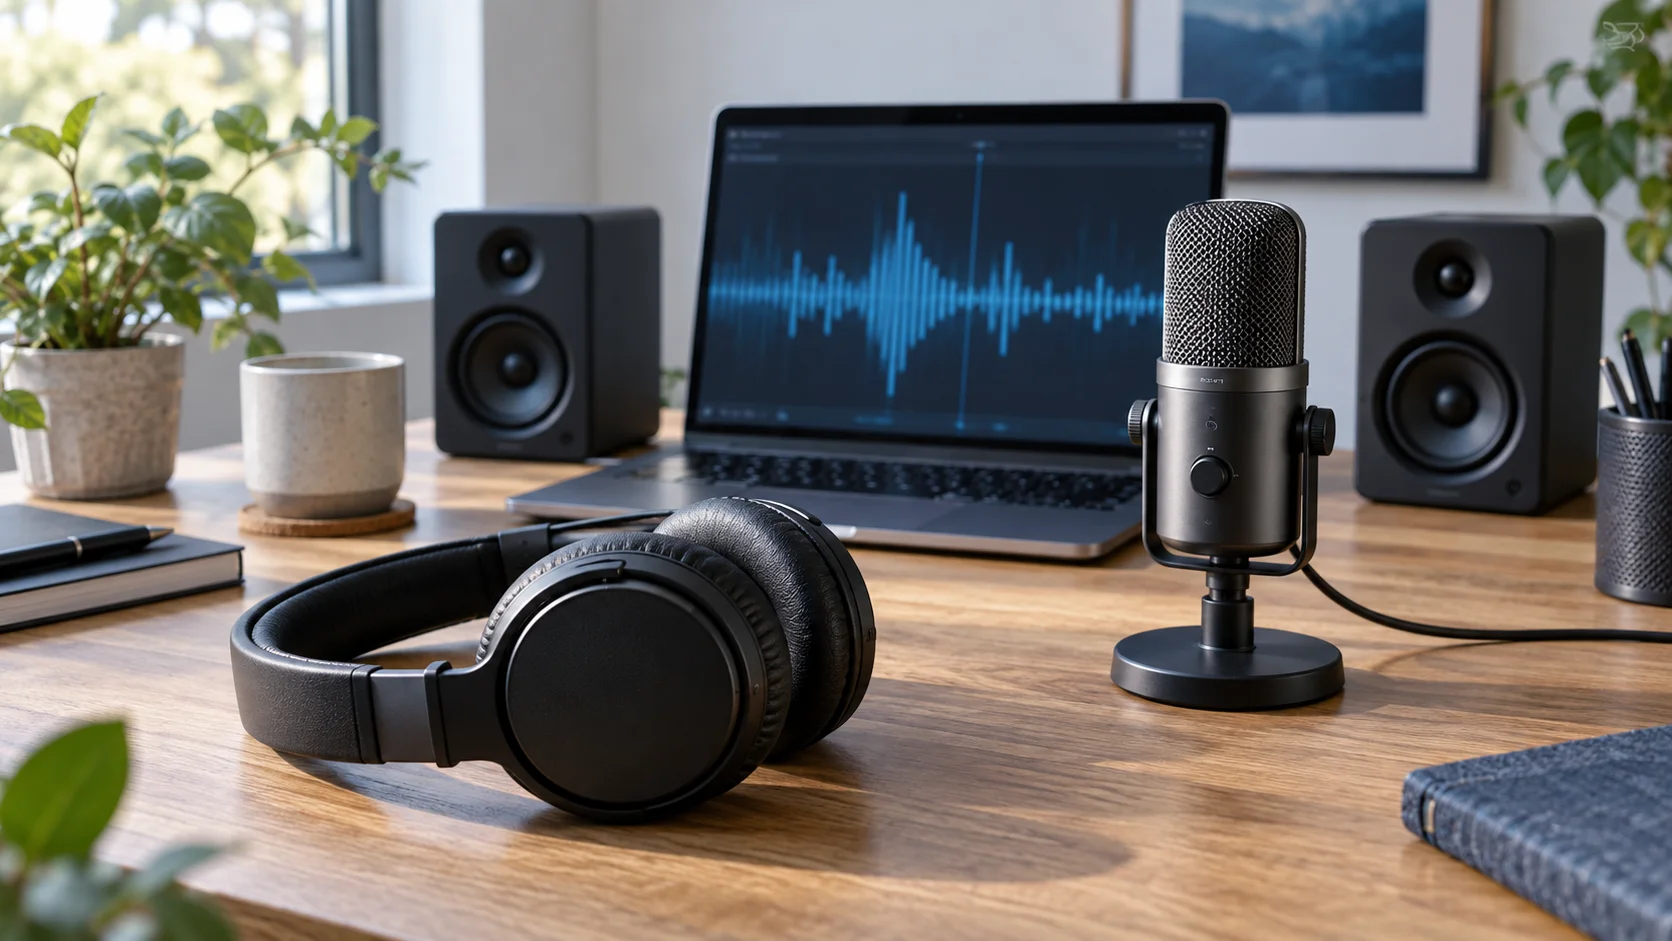
An expensive microphone can still sound distant. A perfectly functional headset can play the wrong channel. A speaker can buzz because something beside it is vibrating. Audio troubleshooting becomes frustrating when every symptom looks like a reason to replace hardware.
Sound Mic Test offers a more useful starting point: browser tools that separate an audio setup into smaller questions. Is an input reaching the browser? Are the left and right channels distinct? Does a particular tone reveal a rattle? Can you hear what your recording actually sounds like?
This review examines the current tools and their practical uses, rather than presenting laboratory measurements or claiming hands-on comparisons between products. The strongest reason to use the site is straightforward: it can help you decide what to investigate next, before changing several settings at once.
The verdict: a troubleshooting companion
The collection works best as a sequence of focused checks. Its microphone tools handle input activity, recording, background levels and monitoring. Its output tools cover stereo channels, speaker tones and frequency sweeps. A separate group explores direction, distance and high-frequency audibility.
That breadth is useful, but the tools do not all answer the same kind of question. Hearing a tone confirms something about the current playback path; it does not establish a headphone's overall quality. Likewise, a moving microphone meter shows incoming audio without guaranteeing that every spoken word will be intelligible.
My editorial assessment is that the basic input, recording and channel checks offer the clearest everyday value. The perception exercises are interesting additions, provided their scores are treated as observations within the exercise, not universal rankings of equipment or listening ability.
Remote workers: check the microphone before the meeting
For someone preparing for a call, the online microphone test is the logical first stop. It requests microphone access, displays the input device label when available, and shows a live activity meter. It also offers recording and playback, allowing you to move beyond the familiar question of whether the microphone is merely switched on.
Speak at your normal distance and volume. Record a short introduction, leave a pause, and listen back. A pause matters because it exposes sounds that disappear beneath speech: keyboard activity, ventilation or a nearby conversation.
The result gives you a baseline for this browser session. It does not prove that a separate meeting application has selected the same input. If the recording sounds acceptable here but your call does not, compare the application's device selection and processing settings before blaming the microphone itself.
Creators: use recordings to compare repeatable changes
Podcasters, teachers and video creators can get more from the browser voice recorder than a quick microphone confirmation. The tool provides recording, playback and a download option. Its current implementation prepares downloads with a WebM filename, so check compatibility with the editor where you intend to use the clip.
A productive workflow is to record the same short paragraph twice. For the second take, change one thing: move the microphone, change your seating position, or remove an obvious noise source. Repeating the wording makes differences easier to follow than comparing unrelated recordings.
The recorder is a capture tool, not a production workstation. There is no reason to expect multitrack editing or detailed mastering controls from this page. Its appeal is speed: capture a reference, listen critically, and save it before moving into your usual editing workflow.
Streamers: separate input level from background noise
Two adjacent tools answer different questions. The mic sensitivity test displays signal levels and warns when peaks approach its clipping threshold. Despite the name, it is not a calibrated measurement of a microphone capsule's sensitivity. It evaluates the audio reaching the browser.
Try ordinary speech and then the louder delivery you might use during a stream. Watch whether the input becomes excessively hot or stays very quiet. Make any gain adjustment in the relevant device or system controls, then repeat the same speech. The page observes levels; it does not automatically repair them.
Next, open the background noise test and pause speaking. Its level displays and frequency visualization help compare the captured background before and after a change. Keep microphone position and gain consistent during that comparison.
Treat the displayed categories as guidance within the tool. They are derived from the incoming signal, not a calibrated room sound-pressure measurement. A quieter meter after lowering gain may simply mean that everything, including your voice, has become quieter.
Headphone owners: establish left and right first
The left and right stereo test is one of the most immediately understandable pages. It sends tones to individual channels and includes a movement check. The task is simple: connect the labels on the screen with the side where you hear the sound.
That makes it useful after changing cables, reconnecting a headset or adjusting an audio setup. If both sides reproduce a supposedly isolated channel, investigate the playback configuration. If the sides seem reversed, check orientation and connections before attempting more elaborate listening comparisons.
The page relies on your responses to describe the result. It does not independently measure channel leakage with external microphones. A successful check supports the practical conclusion that channel separation appears to work in this setup; it is not certification of a headset's imaging performance or surround capabilities.
Speaker users: investigate a symptom with a simple tone
The speaker test combines left, right and combined playback with bass, treble and a clean sine-wave option. This is convenient for a desktop system because several basic checks sit on one page instead of requiring a different music track for each question.
Start at a modest volume. If a tone reveals buzzing, repeat it while observing the setup rather than immediately assuming a damaged driver. A cable touching an enclosure or an object resting nearby can complicate what you hear. Change one physical condition at a time.
Listening still supplies the judgment. The page generates test signals; it does not calculate a distortion percentage or identify which component is faulty. Its best use is making a symptom repeatable, so the next connection check or placement adjustment has a clear purpose.
Bass and treble: explore the edges without overreading them
For a closer look at low tones, the bass test provides individual frequencies and a sweep from 20 to 200 Hz. Headphone owners can use it to notice changes after reseating their headphones. Speaker users can listen for frequency-specific rattles or unevenness at their listening position.
The treble test covers 8 to 20 kHz through selectable tones and a sweep. It offers another way to explore the playback chain, but it cannot isolate the listener, the device and the surrounding conditions into separate measurements.
Neither sweep produces a measured frequency-response graph. A tone seeming louder than another does not by itself establish an exact boost in the equipment's response. Keep the volume low, stop if a sound is uncomfortable, and avoid chasing an inaudible tone by turning the level upward.
Use these tools to find questions worth investigating. For choosing between products, they should accompany broader evidence about comfort, connectivity, usability and actual listening needs.
Gamers: distinguish direction exercises from basic playback
The directional sound test presents a listening exercise with eight directions. Its implementation uses the browser's HRTF panning option to position a tone around the listener, then asks which direction seemed correct. This is a more specific task than simply checking whether both headphone channels work.
It can be an engaging way to explore positional cues with your existing setup. However, a score from a synthetic tone exercise is not a benchmark for locating footsteps in a particular game. The content and audio processing are different.
There is also a useful naming distinction: the page reached through the spatial sound test link currently functions as a basic 440 Hz playback check. It should not be mistaken for a complete surround-system validation. Use that page to confirm audible output; use the directional exercise when direction is the question.
Curious listeners: try distance and frequency exercises
The distance sound test introduces near, middle and far examples before asking you to identify a randomly selected one. The current implementation changes the level and filter settings of a generated tone. It is a controlled exercise in distinguishing the supplied examples, rather than a measurement of real physical distance.
That distinction makes the tool easier to appreciate. You can compare how consistently you recognize the examples without assuming that a successful round predicts performance in a room, a film or a game.
The hearing range test steps through selected tones from 6 to 18 kHz and records whether you report hearing each one. It is an audibility exercise for the current setup, not a clinical hearing assessment. The useful output is your response to those particular tones under those conditions; it should not become a diagnosis.
Monitoring: hear the microphone through the output path
The echo test routes microphone input back to the audio output with an adjustable delay. For someone learning about monitoring, that makes the connection between speaking and hearing the returned signal easy to understand.
Headphones are the sensible choice here because a speaker can feed its output back into the microphone. Start quietly and stop the test if feedback appears. This is a functional monitoring check, not an invitation to maximize the volume.
The delay control adds a chosen delay to the signal. Do not read that setting as an independently measured total round-trip latency for your hardware. It tells you what the tool has been asked to add, while the complete playback and capture path includes other elements.
A practical order that keeps troubleshooting manageable
For a meeting, begin with microphone activity, record a short sample, and inspect background noise only if the sample suggests a problem. For a new headset setup, begin with stereo channels, then listen to familiar material before exploring frequency tones. For desktop speakers, confirm each channel before investigating a repeatable buzz.
Keep notes describing what changed. “Moved the microphone closer” is useful; “audio seems better” is harder to reproduce. If several controls change together, an improvement may be real while its cause remains unclear.
The site's most valuable feature is therefore the way its tools can be combined. Each check narrows the next step, and the links between them keep a small troubleshooting session from becoming an unfocused tour through every audio setting available.
What to expect from a browser toolset
Microphone features require browser permission, and the selected input matters. Playback depends on the output your system is using. The recording implementation keeps audio capture and playback within the browser rather than submitting the clips to the site's contact or publishing systems. Save any recording you want to retain.
There are also clear limits: no calibrated measurement microphone is supplied, no automatic hardware repair takes place, and listening judgments remain yours. Those boundaries are compatible with a useful product. The toolkit's purpose is to make basic checks accessible, not to replace every specialized audio application.
For anyone helping a friend or colleague, this structure has another advantage: a shared reference. Instead of asking whether the sound is strange, you can ask whether the left tone stays on the left, whether speech appears in the recording, or whether the noise remains during a pause. Those questions produce clearer descriptions, even when you cannot see the other person’s computer. Keep the test conditions simple, write down the answer, and use that answer to choose the next check rather than guessing.
Who should use Sound Mic Test?
Remote workers checking their voice, creators comparing microphone placement, gamers verifying channels and speaker owners investigating a repeatable noise all have a clear starting point here. The strongest results come from a specific question and a repeatable comparison in everyday use.
For an everyday first check, open the microphone or stereo tool that matches your problem. Build outward only when the result gives you a reason. Sound Mic Test is most convincing when it helps you understand your existing setup before deciding what, if anything, needs to change.

About the author
Ethan ParkerDACs, Amplifiers & Audio Interfaces
Ethan Parker is an editorial pen name for Sound Mic Test's audio-electronics coverage. Articles explain DACs, headphone amplifiers, audio interfaces and how their specifications relate to a complete setup.
Sound Mic Test editorial pen name.
ethan.parker@soundmictest.com