Gaming Headsets
HyperX Cloud III Wired: Connections, Mic Controls and PC Setup
Connect the wired Cloud III, understand its mute indicator and test microphone routing before exploring DTS on a supported PC.

Amelia Collins is an editorial pen name for gaming and streaming audio at Sound Mic Test. This byline covers headset features, microphone communication, platform compatibility and audio choices for play and live content.
Sound Mic Test editorial pen name.
amelia.collins@soundmictest.com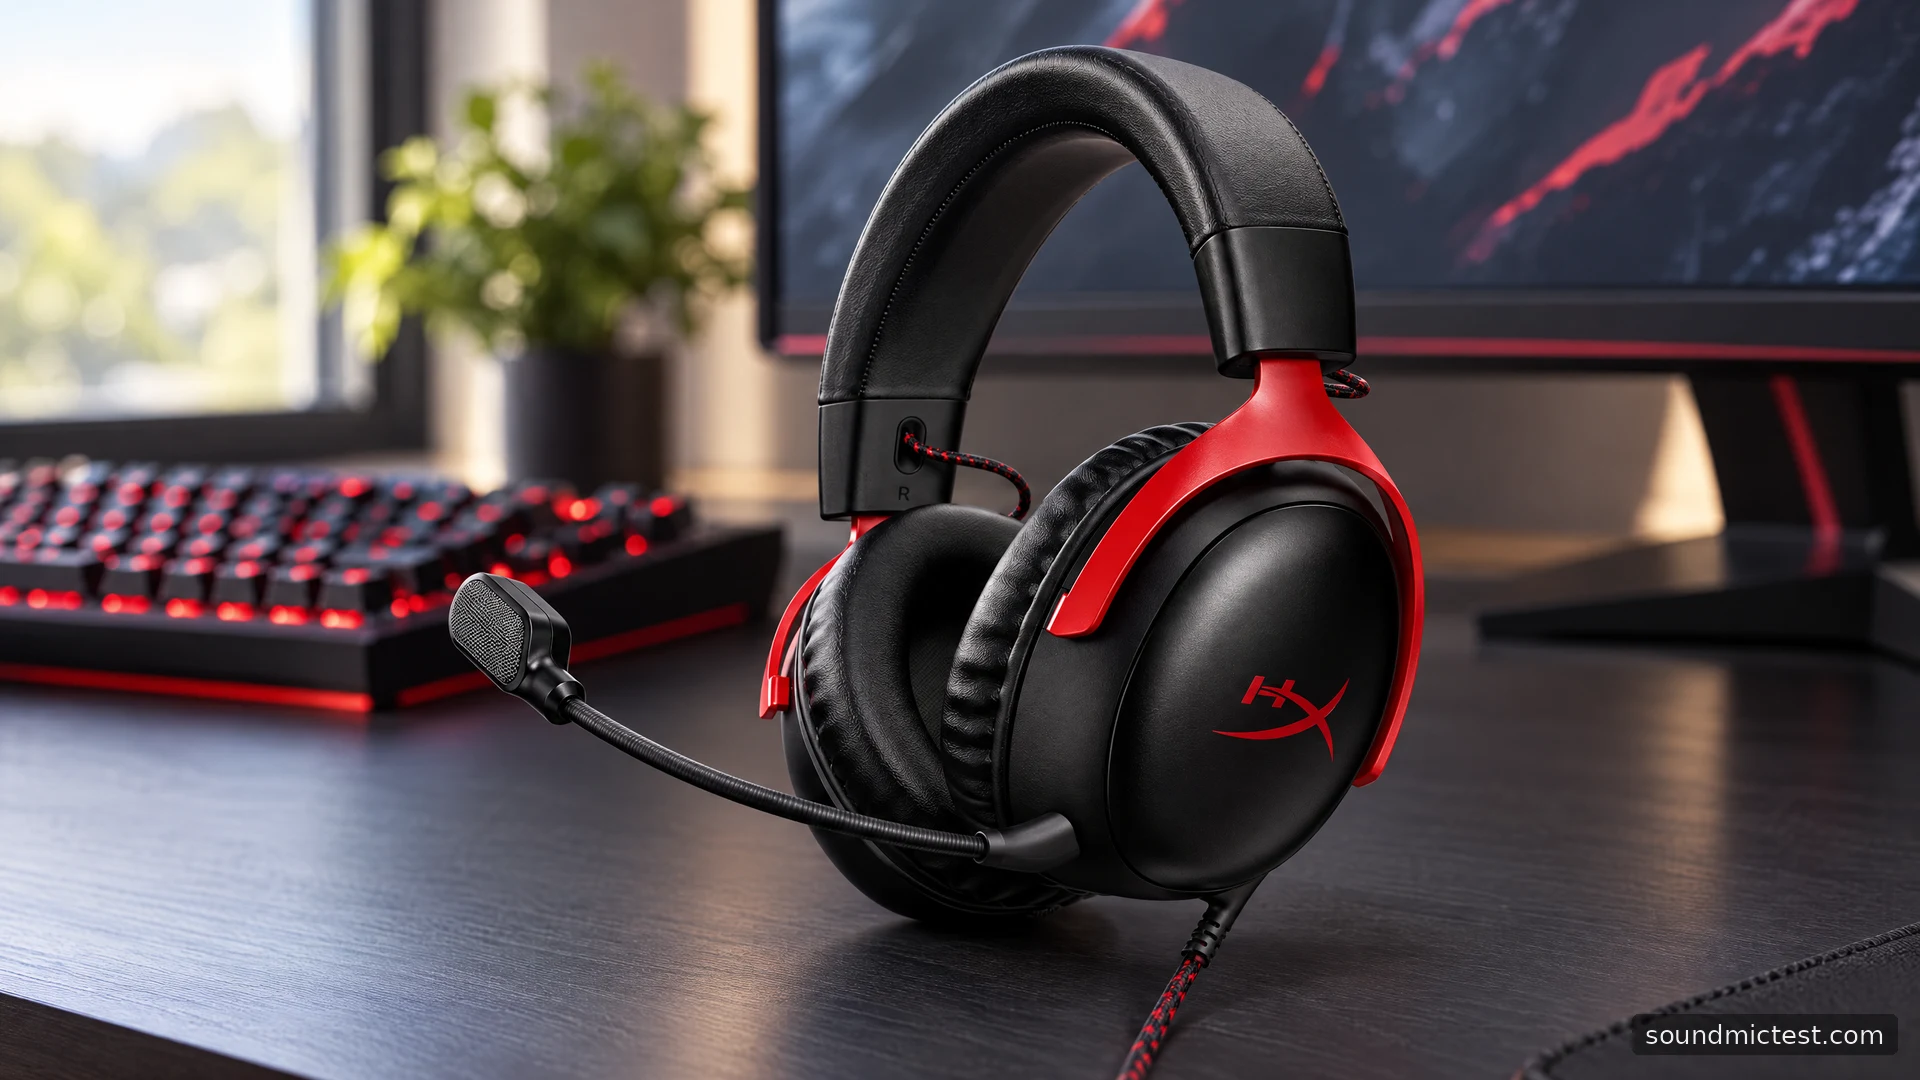
The wired HyperX Cloud III is aimed at players who want one headset for several gaming devices and prefer controls they can find on the earcup. Its useful combination is a detachable microphone, analog connectivity and a USB adapter path. It is an uncomplicated proposition if you stay near your machine. It is the wrong version if you expect wireless movement or a rechargeable battery.
HyperX sells other Cloud III variants, so the word wired matters here. This review and setup guide draws on the wired model's product documentation. It does not transfer battery figures or wireless features from the similarly named version.
The features that change everyday use
The official wired Cloud III page lists angled 53mm drivers, a detachable 10mm microphone and connections through 3.5mm, USB-C and USB-A. Volume and microphone mute controls sit on the headset. A light on the microphone provides a mute indication.
Those physical controls deserve more attention than a driver-size comparison. Being able to find mute without looking for an inline box is useful when a conversation interrupts a game. A visible status light can also help explain why voice chat has gone silent, although it is still worth checking the application's own mute state.
The closed cushions make this a conventional gaming headset rather than an open headphone. They enclose the ears, but that does not establish an active noise-cancellation feature or a measured isolation result. Comfort will depend on the seal, headband adjustment and glasses. Allow time to assess those factors instead of deciding from padding photographs alone.
Choose the connection for the device
For a computer, the included USB path offers a convenient way to select the Cloud III as a distinct audio device. The USB-C to USB-A adapter accommodates different ports. For a compatible controller headset socket, use the analog connection.
These are different ways of carrying audio, not a promise that every feature works identically everywhere. HyperX lists several supported platforms, but software features on a Windows PC should not be assumed to appear in console menus. In particular, a physical USB socket on a console is not enough by itself to prove compatibility with an arbitrary USB headset.
Before buying, list the devices you actually use. A PC and a controller-equipped console are a sensible match for this design. A phone without a headphone socket needs a suitable supported connection or adapter, while someone who wants a headset for commuting may find the boom and cable less convenient than a portable model.
Set up playback and recording on Windows
The Cloud III quick-start guide identifies both playback and recording devices as HyperX Cloud III when using USB.
- Connect the headset through the supplied USB dongle and the adapter appropriate to your port.
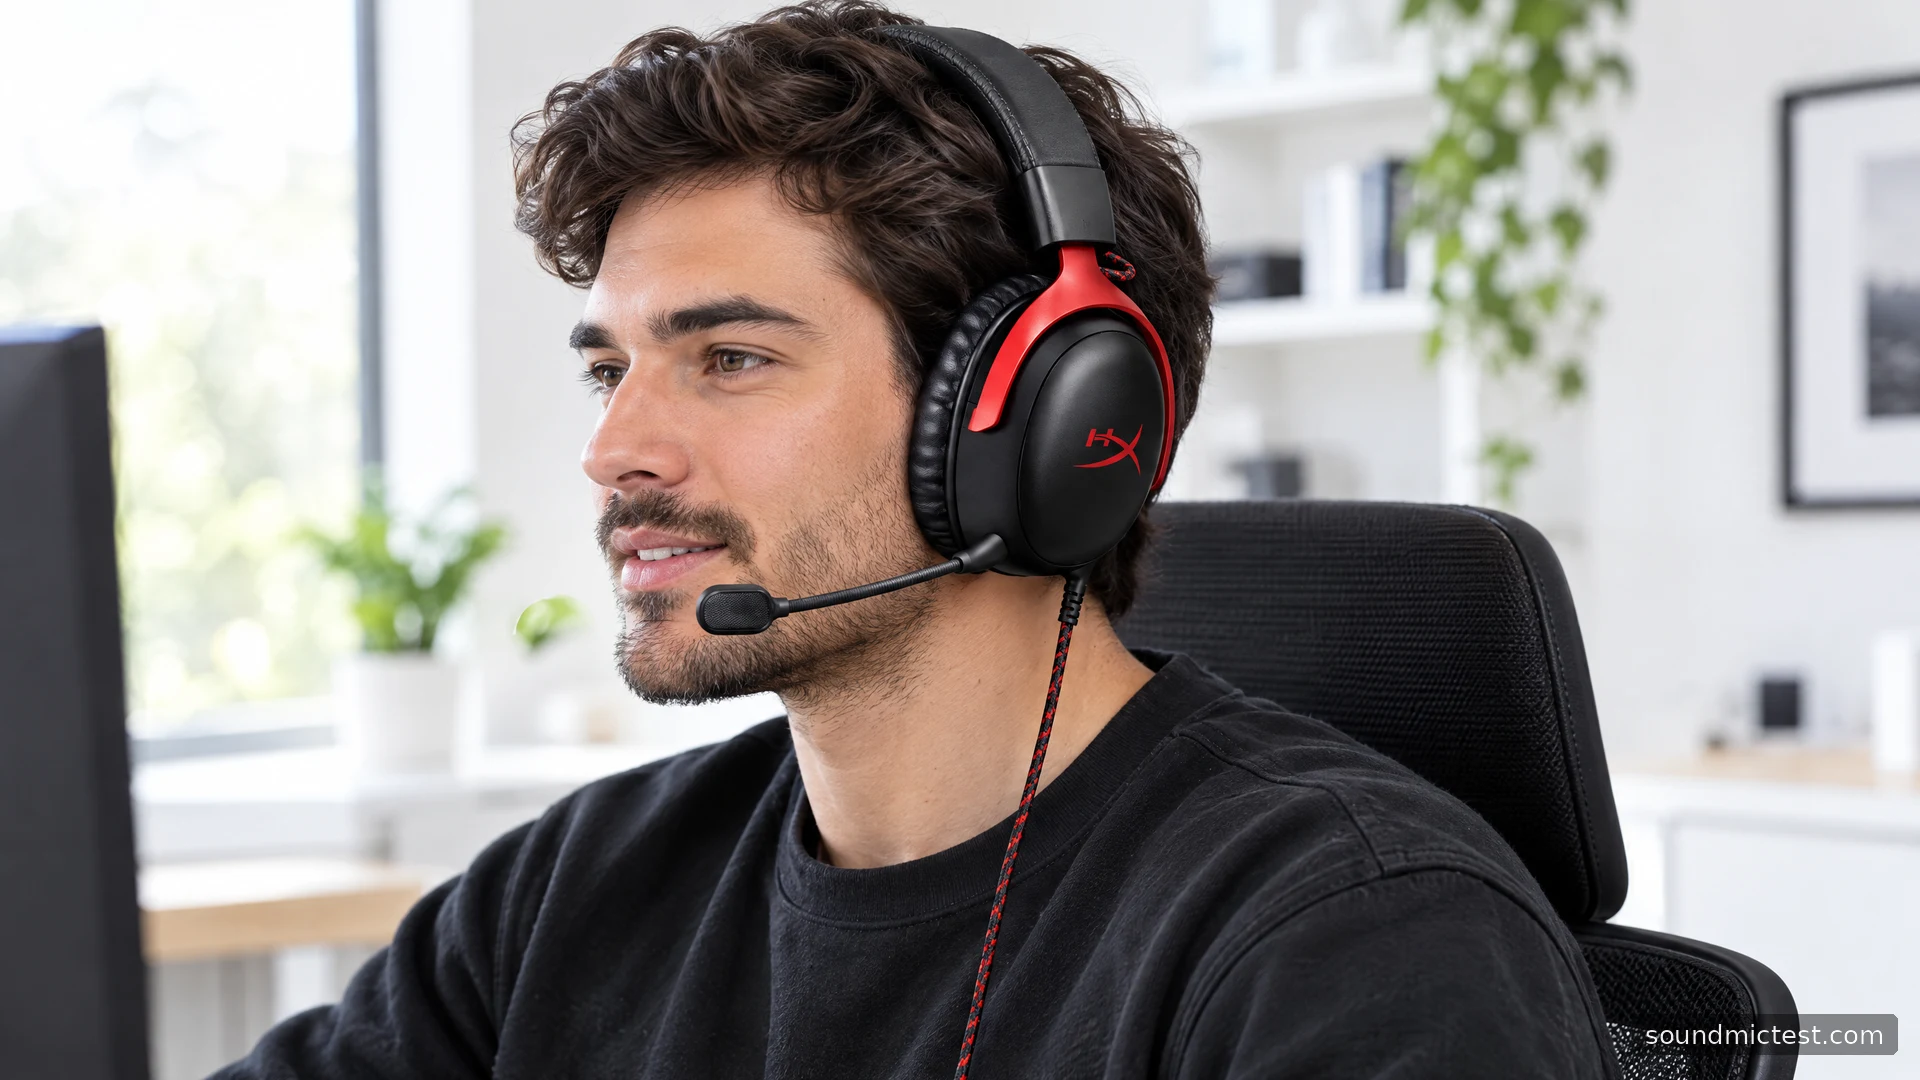
- Fit the microphone securely and put the headset on with the cable clear of your chair.
- Select HyperX Cloud III as the output device in sound settings.
- Select it as the input device as well, then check the chat application's input.
- Set a modest listening level and make a short recording before joining a call.
Do not troubleshoot a quiet microphone by turning the headphone wheel. Playback volume and capture level solve different problems. If voice chat is quiet, first establish that the software is using the boom microphone rather than a laptop microphone farther away.
Read the mute light, then check the recording
According to the quick-start guide, pressing the mute button toggles the microphone: the LED is on when muted and off when active. This makes it worth checking the light before changing system permissions or reinstalling software.
Use the microphone test to confirm capture, then make a sample with the voice recorder. Speak normally and include some typing if the headset will be used while gaming. The recording answers a practical question about your setup; it is not a calibrated test of microphone frequency response.
Keep the microphone near the side of your mouth, away from direct breath. If words are clipped at the beginning, check voice activation or noise suppression in the app. If the whole recording is harsh, reduce capture gain before adding more processing. Change one setting at a time so you can hear what actually helped.
Use DTS without losing your baseline
The guide points PC users to HyperX NGENUITY for DTS Headphone:X. Obtain the appropriate software from HyperX and check that it supports your exact device and operating system. Software versions and layouts can change after the printed guide is published.
Before enabling spatial effects, verify ordinary stereo with the channel test. Then compare a familiar game scene with and without the effect. Leave other surround layers off during that comparison. More processing is not automatically more useful, especially when the game already creates its own headphone mix.
A driver's diameter does not tell you how accurately you will locate an opponent. Neither does a broad advertised frequency range. Those questions require relevant listening comparisons or controlled measurements, so this guide makes no numerical positioning or sound-quality claim.
A sensible wired upgrade, with limits
The Cloud III is worth considering when earcup controls, an obvious mute indicator and several connection options address problems in your current setup. It is less compelling as an upgrade solely because its name follows Cloud II. Someone whose existing headset already fits well and handles voice chat reliably should identify a specific shortcoming before replacing it.
For a new purchase, check the wired label, included adapters and the connection required by each platform. Then assess fit and microphone placement during the return period. The strongest reason to choose this model is a convenient daily workflow, not an assumption that USB, bigger drivers or a spatial-audio logo guarantee a better game.