Gaming Headsets
HyperX Cloud Alpha Wireless: Battery, USB Pairing and Mic Setup
Understand the original Alpha Wireless battery claim, USB receiver setup, microphone monitoring and manual pairing procedure.

Amelia Collins is an editorial pen name for gaming and streaming audio at Sound Mic Test. This byline covers headset features, microphone communication, platform compatibility and audio choices for play and live content.
Sound Mic Test editorial pen name.
amelia.collins@soundmictest.com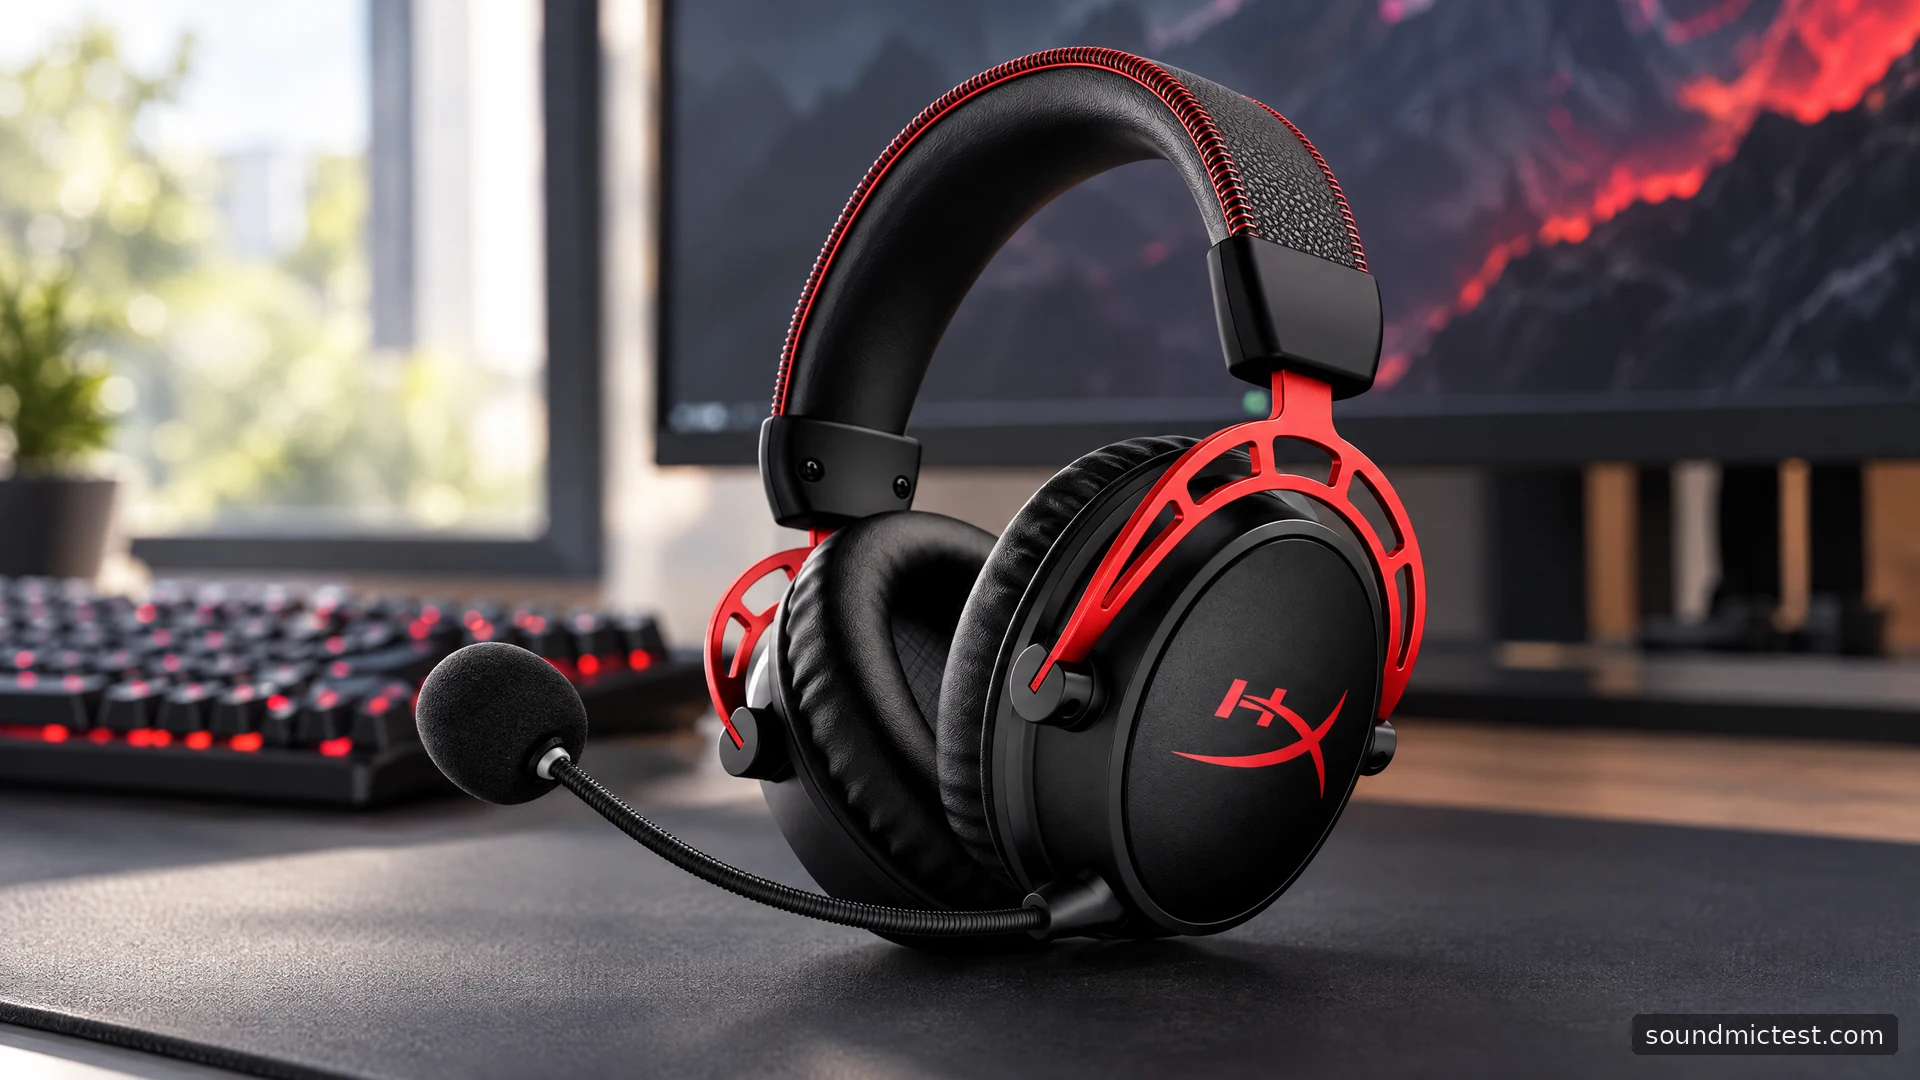
The original HyperX Cloud Alpha Wireless targets a very specific annoyance: a gaming headset that always seems to need charging. HyperX's headline claim is up to 300 hours, which makes battery management its clearest selling point. The limitation is just as important. This is a headset built around its USB wireless adapter, not a Bluetooth replacement for every headphone you own.
This guide covers the original Cloud Alpha Wireless, part number 4P5D4AA in the manual, rather than a later Alpha variant. It assesses the documented features and setup procedure. The battery figure is a manufacturer claim, not a runtime measured for this article.
Put the 300-hour claim in context
The official manual gives the conditions behind that number: testing at 50 percent headphone volume, with actual life varying by use. It also specifies a 2.4GHz USB connection and a USB-C charging port.
For a player who leaves a headset beside a PC, long intervals between charges are a worthwhile convenience. They do not remove the need to check battery status before a long session. Volume, battery age and usage can all make your charging routine different from an advertised maximum.
More importantly, long runtime does not expand connectivity. Buy this model because its receiver suits the devices you use. A Bluetooth menu on a phone is not where the normal pairing process takes place, and the presence of a charging cable should not be taken as evidence of an analog fallback.
Set up the wireless receiver first
For PC use, connect the supplied USB adapter, power on the headset and choose Cloud Alpha Wireless for both playback and recording. The manual also documents PlayStation 4 and PlayStation 5 setup through the adapter. Check the exact platform before purchase; do not generalize USB headset support to every console.
Keep the receiver somewhere with a reasonably clear path to the headset. If a metal desktop chassis or a crowded hub creates unreliable reception, trying a more exposed port is a useful diagnostic step. It is not necessary to claim a particular range inside every home to explain why receiver placement matters.
On the PC, inspect the game's audio output and the voice-chat application's microphone selection after choosing the system defaults. Those applications can preserve their own choices. Hearing sound through the headset while the laptop microphone captures your voice is a routing problem, not proof that the boom microphone is broken.
Learn the two different mute-button actions
The controls are more useful once you separate a press from a hold. The manual specifies a three-second power-button hold for power on or off, while a short power press announces battery level. A short microphone-button press toggles mute. Holding that button for three seconds toggles microphone monitoring.
Microphone monitoring feeds some of your own voice back to you. It can help prevent shouting into closed headphones, but it is different from the level sent to teammates. Hearing yourself locally does not prove that the chat app has selected the correct recording device.
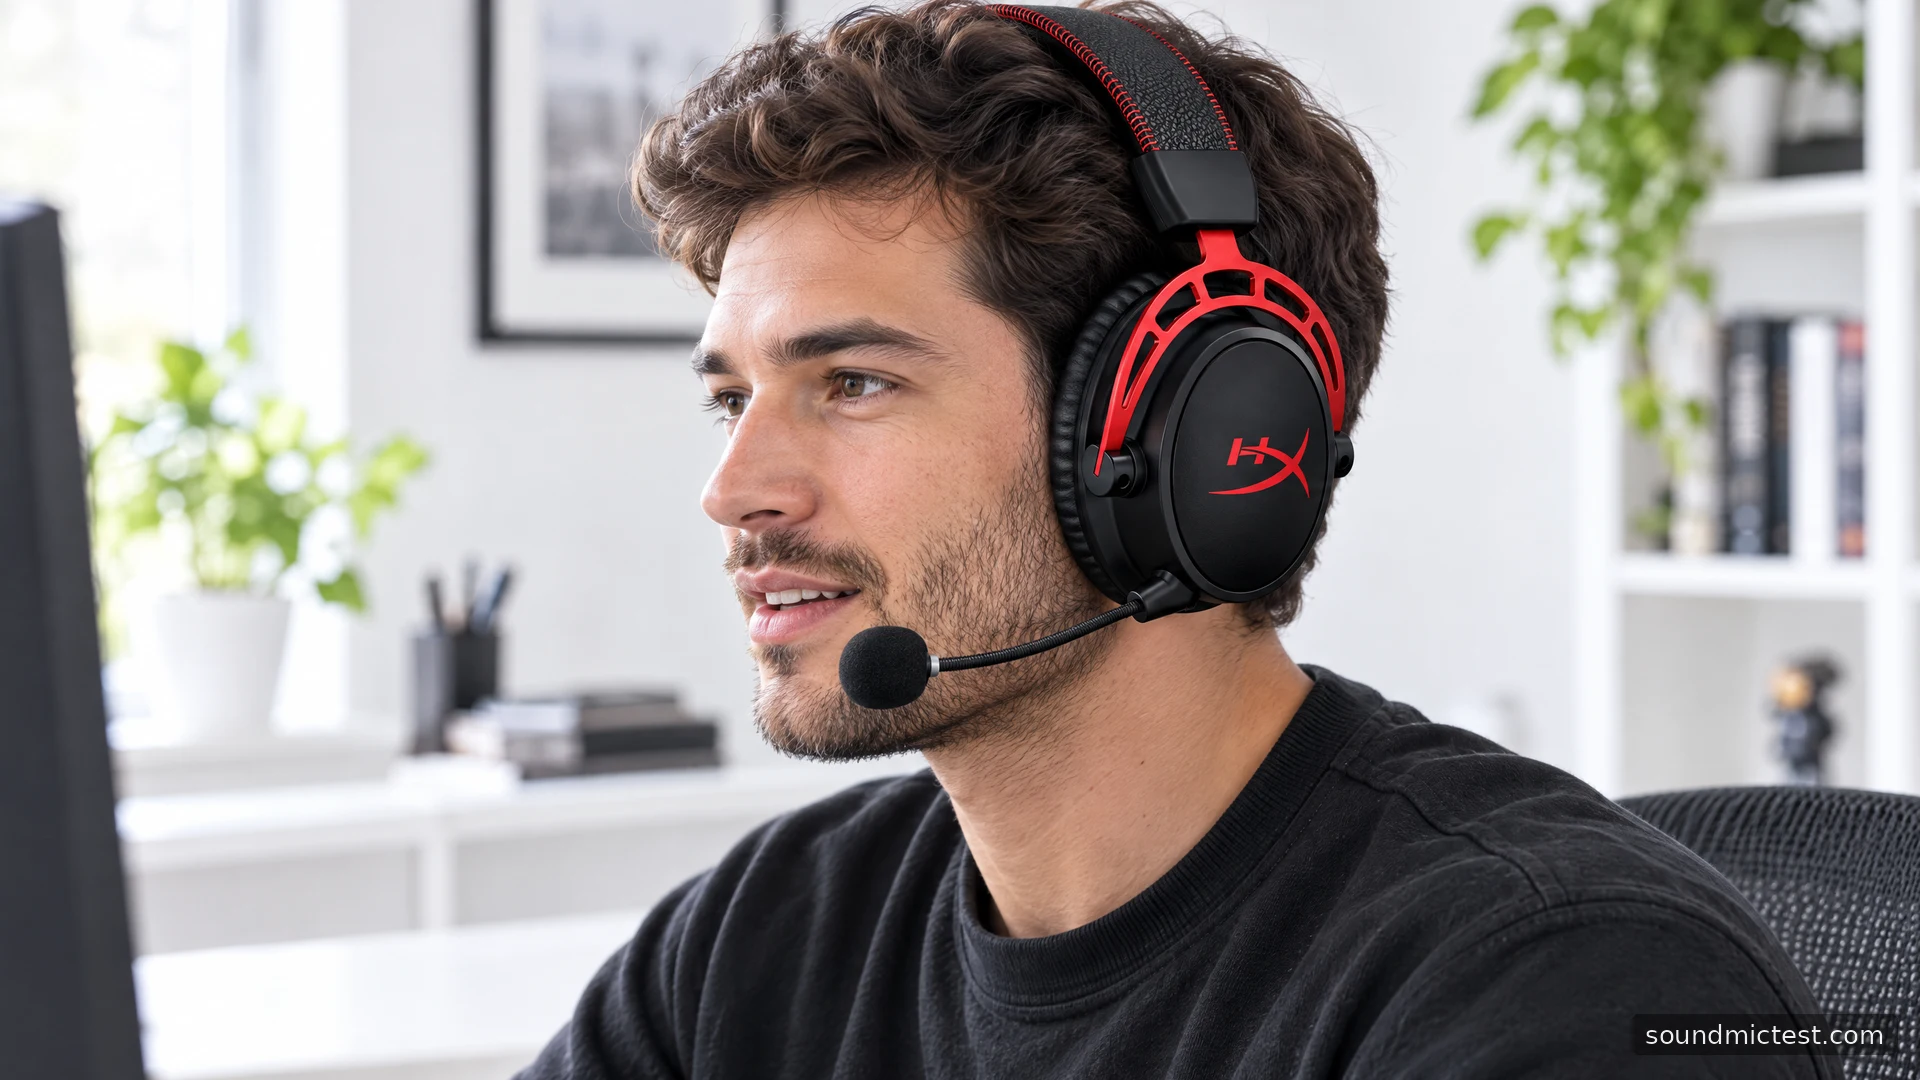
The microphone's LED is on when muted and off when active. If friends cannot hear you, check that indication first. Then seat the detachable microphone, inspect application mute and make a browser recording. This is a faster path than immediately reinstalling software.
Make a useful voice sample
Use the microphone test to establish that the browser receives the correct input. Position the boom near the corner of your mouth and keep it out of direct airflow. Give the browser access if prompted, and verify that it has not selected a webcam.
The voice recorder is useful for comparing two positions with the same sentence. Include normal speech and a little keyboard activity. Listen for breath bursts and distortion, then change position or capture gain before adding aggressive software filtering.
This exercise evaluates your actual call setup. It does not produce a laboratory microphone response or a noise-rejection ranking against other headsets. Room acoustics and app processing can change the result substantially, so keep those conditions consistent if you compare recordings.
Recover a lost receiver pairing
The headset and its supplied adapter should already be paired. Use manual pairing only when ordinary connection checks fail or when following the manufacturer's replacement-receiver instructions.
- With the headset off, hold the power button until its status light rapidly alternates red and green.
- With the adapter connected, use a suitable small tool to hold its recessed pairing button until the adapter light flashes rapidly.
- Wait for the headset and adapter indicators to become solid.
- Recheck the operating system's output and input selections.
Do not confuse this procedure with searching for a new Bluetooth accessory. If pairing still fails, verify the exact receiver model with HyperX support. Similar-looking dongles are not automatically interchangeable.
Software, charging and the buying decision
HyperX documents NGENUITY support for EQ, DTS Headphone:X, battery indication and automatic shut-off settings. Obtain compatible software from the manufacturer's site. Start with ordinary stereo and a left/right check, then evaluate spatial processing in a familiar game without stacking several surround effects.
Charge through the specified USB connection and check the status indication before putting the headset away. A long battery claim is most helpful when paired with a simple habit, such as checking the spoken level before the weekend, rather than waiting for the last low-battery warning.
The original Alpha Wireless suits a desk-based PC or supported PlayStation routine where receiver-based audio and infrequent charging are priorities. It is a weaker match for someone who needs phone Bluetooth, multiple independent wireless connections or a wired backup. Decide on those connection needs first; the large runtime figure only becomes valuable once the headset fits the rest of your setup.